What an embossing stamp is
An embossing stamp, also called an embosser or dry seal, marks paper without ink: it presses the paper so the design stands out raised. It's two pieces that fit together: the male die has the logo raised and the female die has it recessed. Squeeze the paper between them and the logo is pressed in.
It's used for stationery and packaging that looks more refined: invitations, labels, cards, envelopes, gift bags, the first page of a book ("ex libris") or certificates.
Magnets or hinge
With magnets: two loose plates, round or rectangular, with two pockets for disc magnets on the faces that touch. The magnets line the pieces up on their own: bring the faces together, put the paper in between and squeeze.
With a hinge: a single piece that comes out of the printer already assembled, with both plates joined by a hinge. No magnets or glue needed: open it, slide the paper in and close it like a clamp. When it folds, the relief lands right in the recess.
Getting a crisp impression
The male relief and the female recess are calculated together: the recess is a little wider (the clearance) and a little deeper, so the paper fits without tearing. With thick cardstock raise the clearance; with thin paper, lower it.
Very fine strokes don't emboss: paper can't fold into curves that small. So a simple design with thick lines and a size of at least 30 mm works best.
Printing tips
- Print the pieces with the relief facing up, as they come in the file, without supports. Layers of 0.12 to 0.16 mm give a finer impression.
- PLA works well. If you'll emboss lots of sheets, PETG lasts longer.
- With magnets: check the polarity before gluing them. Put the two pieces together with the magnets in place, unglued, and make sure they attract; then glue them with a drop of super glue.
- With a hinge: when you take it off the bed, move it gently a few times to free it. If it's stuck, increase your printer's clearance or print it a little slower.
- Test first on a scrap of the same cardstock. If it doesn't emboss, squeeze harder or use a hand press.
Frequently asked questions
Which paper works best?
Cardstock and heavy paper (120 to 300 gsm) emboss best and don't tear. Regular printer paper also works, but the relief is less visible.
Which magnets do I need?
Neodymium disc magnets. The tool has pockets for 6 × 2 mm, 8 × 2 mm, 8 × 3 mm or 10 × 2 mm; choose the one you'll buy before downloading. You need 4: two per piece.
Why is my logo backwards on one of the pieces?
It's on purpose: the female die is mirrored because it flips over to meet the male. When closed, the recess lines up exactly over the relief and the logo comes out the right way on the paper.
Does the hinge really come out assembled?
Yes: the pin is printed inside its sleeve with a small gap between them. If your printer is well calibrated, it moves freely when you take it off. If it's stuck, increase the clearance in your slicer or print it slower.
Can I use it with ink, like a regular stamp?
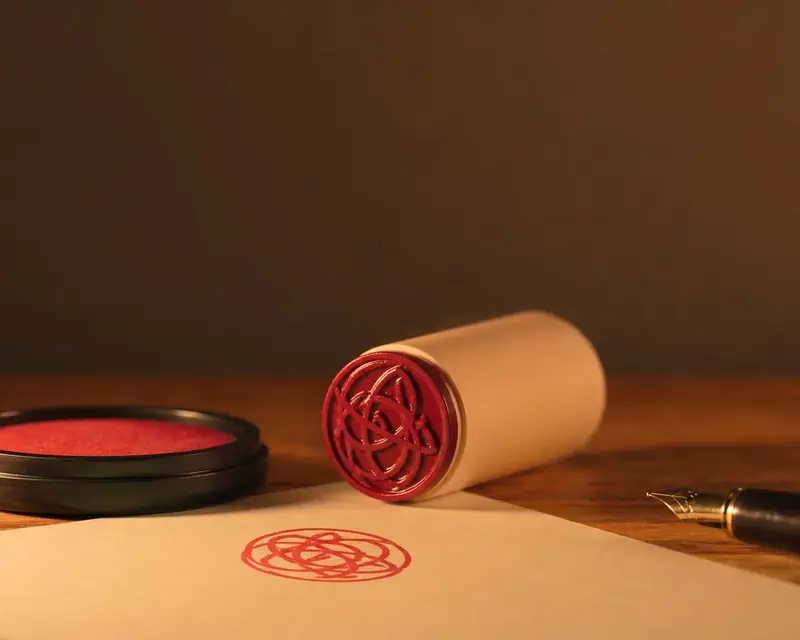
No: this one presses dry. For an ink stamp use Signature to stamp, which comes out mirrored and with a handle.
Is my logo uploaded to the internet?
No. The stamp is calculated in your browser; your logo isn't sent anywhere.
Why is there a download limit?
The tool is free and supported by ads. Each visit includes 5 downloads; to keep going, open the page again.
 Your QR in 3D
 Your photo in 3D
 Your map in 3D
 Signature to stamp
 Your name in 3D
 Cookie cutter
 Song plaque
 Gridfinity bins
 Gears
 Stencil